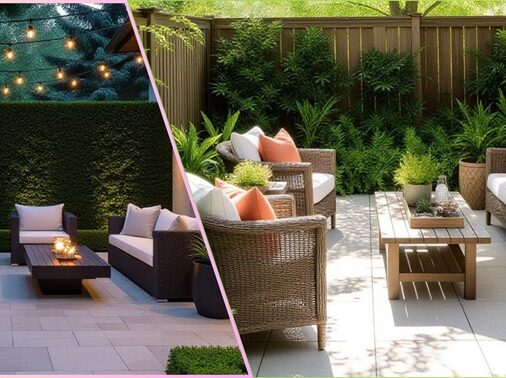
I’ve walked hundreds of gardens and landscapes, and one thing always stands out: the pathway you choose isn’t just about moving from A to B. A beautifully designed walkway becomes part of the narrative of your garden — it guides the eye, invites exploration, and elevates your home’s curb appeal.
“Walk This Way” is more than a catchy phrase — it’s an invitation to reimagine your outdoor space. In this article, I’ll help you craft pathways that blend both artistry and function, with step-by-step guidance, design insights, and pro-level attention to detail.
Core Design Principles: What Makes a Pathway Work
Before we jump into materials or layout, these principles will anchor your decisions:
- Function First, Beauty Next
A path must comfortably guide foot traffic. Don’t compromise on width, slope, or access in favor of prettiness. - Site‐Responsive Flow
Follow natural movement lines, sightlines, and terrain. A path that feels forced will always feel awkward. - Balance Structure & Softness
Combine hard materials (stone, pavers) with plantings, joint fillings, and edging to soften edges. - Engineering Underneath Counts
Your base, drainage, edge support, and compaction determine durability more than the top layer. - Scale & Proportion
Paths must relate to house size, garden scale, and human stride. Too narrow or too wide feels off.
With those in mind, let’s walk through your pathway project.
Step-by-Step Guide to Creating an Outdoor Pathway
Below is a phased blueprint you can adapt to your project size.
Phase 1: Site Assessment & Planning
- Walk the lines
Use garden hose, rope, or spray paint to outline potential routes. Follow desire lines (where people naturally walk). - Survey slope, drainage & water flow
Note how water moves across the site in storms or heavy rain. - Measure required width & clearance
A comfortable walking path should be at least 3′ wide (4′–5′ ideal for two people side by side). - Sketch a plan
Include the path, entrances/exits, landscape beds, trees you’ll avoid, and elevation changes. - Soil & substrate test
Dig a small hole to inspect the subsoil. Is it sand, clay, rock, or loam?

Phase 2: Design Framework & Material Choice
Decision Criteria Table
| Factor | Key Question | What to Prefer |
| Drainage | Is the area wet, sloped, or subject to runoff? | Permeable materials (open joint pavers, gravel) or strong base + drainage pipes |
| Climate | Freeze-thaw cycles, rainfall, snow? | Use materials rated for local conditions; joint fillers that resist freeze damage |
| Maintenance Tolerance | How much upkeep are you willing to do? | Lower maintenance: concrete, dense pavers; higher: stone with moss joints or gravel |
| Aesthetic / Style | Rustic, modern, formal, cottage? | Let architectural context guide your material palette and path forms |
| Budget | Luxury vs value options | Factor labor cost—complex layout + cutting = higher cost |
Common Material & Style Options
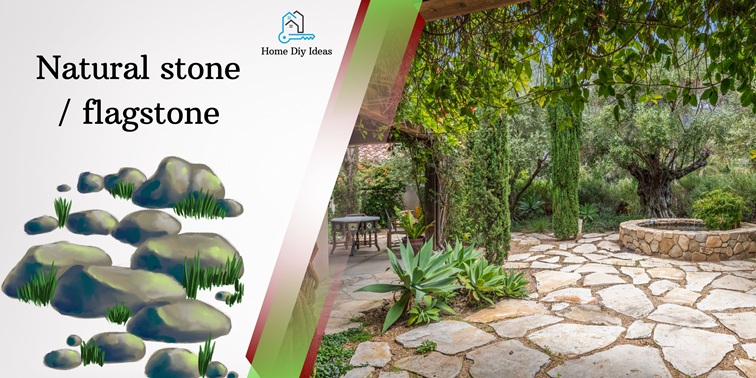
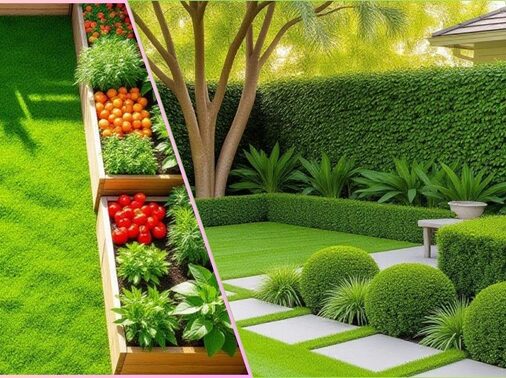
- Natural stone / flagstone — timeless, organic, works beautifully in gardens
- Concrete pavers / modular blocks — uniform, lower maintenance, good for geometric design
- Gravel / crushed stone — cost-effective, permeable, works for informal paths
- Stepping stones / pavers in turf or groundcover — lightweight, flexible layout
- Mixed media (stone + gravel, wood + pavers) — adds visual interest and zone differentiation
Phase 3: Base & Structural Build
- Excavate to depth
Typically 6–10″ deep depending on anticipated load and soil quality. - Install a sub-base
For heavy loads or freeze zones: crushed stone, compacted in 2–3″ layers. - Add bedding sand or gravel
A leveling layer (¾″–1″) to seat your pavers or stone. - Lay in desired pattern
Start from a reference edge or fixed point; maintain joint spacing consistently. - Edge restraint installation
Use paver edging, metal strips, pressure-treated timber, or stone curbs to keep the pathway from spreading. - Compact & joint fill
Sweep in joint sand (polymeric or fine sand) or fine gravel; compact with plate compactor (unless delicate stone). - Settle & adjust
Run a gentle hose spray; check for drift or settling and adjust.
Phase 4: Softening & Styling
- Plant joint fillers / mosses
Creeping thyme, sedum, moss, dwarf mondo grass can inhabit joints and edges. - Border planting
Use low groundcovers, ornamental grasses, or edging shrubs to frame the path. - Accent elements
Place boulders, lanterns, sculptures, or stepping features along or adjacent to the path. - Lighting
Low-voltage or solar path lights, spotlighting, uplighting can dramatize the walk by night.
Checklist: Pathway Project Planner
✅ Path width and alignment decided
✅ Material choice matched to climate & aesthetic
✅ Site measurements & grade mapped
✅ Excavation depth accounted for
✅ Sub-base, bedding and compaction plan ready
✅ Edge restraints selected
✅ Joint filling and compaction equipment available
✅ Plant palette for joints and edges chosen
✅ Lighting plan prepared
✅ Maintenance plan (weed control, repair) in place
Troubleshooting Tips & Common Pitfalls
| Problem | Likely Cause | Solution |
| Pavers shifting or sinking | Weak sub-base or no compaction | Re-excavate, add crushed stone, compact properly |
| Water pooling on path | Poor slope / no drainage | Re-grade or add drainage swales / pipes |
| Weed growth between joints | No joint filler, or lack of maintenance | Use polymeric sand, seal joints, spot weed early |
| Cracks or breakage (stone / concrete) | Freeze-thaw stress or load | Use expansion joints and appropriate material |
| Uneven surface / trip hazard | Poor leveling or settling | Adjust stones and re-level uneven spots |
FAQ
Generally, if slope exceeds ~10% in a short run, you should incorporate steps, landings, or gentler curves (switchbacks) for comfort and safety.
Absolutely — mixing materials brings visual interest and zone demarcation. Just ensure transitions are smooth, surfaces flush, and edging prevents shifting.
Dense stones, concrete pavers rated for frost tolerance, and permeable surfaces perform well. Avoid softer stone types and use expansion joints.
Depends on materials. Gravel or natural stone may need occasional re-leveling or topping up. Concrete and pavers may only require periodic sweeping, sealing, and joint re-sanding.
Lighting isn’t mandatory, but it greatly improves usability, safety, and nighttime ambiance. Use low-intensity, warm-tone lighting focused on the path surface or edges.
Conclusion & Call to Action
“Walk This Way” isn’t just a catchy title — it’s an invitation to reimagine your outdoor landscape as a journey, not just space. When you blend thoughtful routing, structural integrity, and softness through planting and lighting, your walkway becomes a narrative thread weaving together your garden rooms.
If you’re ready to get started, sketch your path lines tomorrow and run the site-checklist above. Need help choosing materials tailored to your budget or zone, or designing a lighting plan? I’d be delighted to work with you on the next phase. Let’s make your pathway a story worth walking.