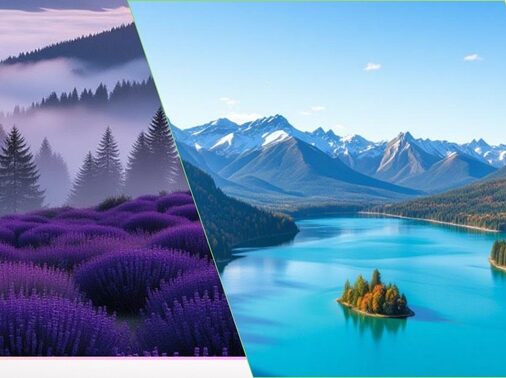
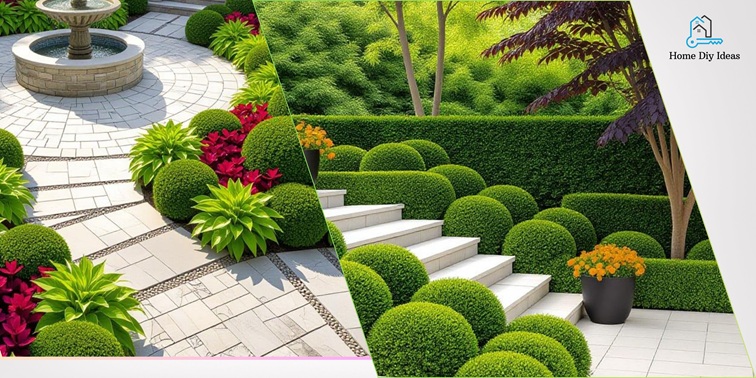
If you’re like me—always looking for simple yet striking ways to refresh your yard—white landscaping rock is a game changer. It creates a crisp, modern look that instantly brightens any outdoor space while staying low-maintenance year-round. Whether you want a minimalist garden, a light-reflective border, or a durable groundcover alternative, white rock offers a blend of beauty and function that’s hard to beat.
In this guide, I’ll walk you through everything—from design inspiration and rock types to step-by-step installation and upkeep—so you can confidently transform your landscape.
Why Choose White Landscaping Rock?
The Bright & Clean Appeal
White rock instantly freshens your yard by reflecting sunlight and creating contrast with greenery, wood, and hardscaping. It brightens shaded corners and enhances nighttime lighting.
Functional Advantages
- Low maintenance – Unlike mulch, rock doesn’t decompose or attract pests.
- Weed suppression – Paired with quality fabric, it blocks most weed growth.
- Erosion control – Helps stabilize slopes and dry areas.
- Light reflection – Keeps surroundings cooler by deflecting heat.
- Durability – Lasts for years without frequent replacement.
Design Versatility
White rock complements a wide range of styles—from modern minimalist yards to coastal gardens and desert xeriscapes. It provides contrast and structure around lawns, patios, or pathways.
Types of White Landscaping Rock
| Type | Description | Best Use | Considerations |
| White Marble Chips | Crushed marble, bright white with shimmer | Beds, accents, pathways | Reflective glare in full sun; higher cost |
| White Quartz Gravel | Smaller granular texture, pure white | Walkways, decorative zones | May shift—use edging |
| Crushed Limestone | Softer white/gray tone | Large beds, budget projects | Slight color variation, can stain |
| Snow White Pebbles | Smooth rounded stones | Water features, modern gardens | More expensive, limited availability |
Pro Tip: For plant beds, marble chips or limestone offer great coverage and contrast. For pathways, combine quartz with stepping stones for stability.
Step-by-Step Installation Guide
1. Plan and Measure
- Sketch the area dimensions.
- Decide rock depth: 2–3 inches for beds, 3–4 inches for walkways.
- Use formula:
Area (sq ft) × Depth (ft) ÷ 27 = Cubic Yards.
2. Prepare the Site
- Remove weeds, turf, and debris.
- Level and grade for drainage.
- Install edging to contain the rock.
- Lay breathable landscape fabric for weed control.
- For high-traffic areas, add a compacted gravel base.
3. Spread and Compact
- Distribute rock evenly to desired depth.
- Lightly compact for stability.
- Keep a few inches clear around plant stems.
4. Add Finishing Touches
- Rinse dust from rocks for brighter color.
- Install solar or low-voltage lights—white rock reflects beautifully.
- Add fine gravel as a top layer to fill gaps.
5. Ongoing Maintenance
- Rinse annually with a hose or blower to remove dust.
- Remove occasional weeds.
- Top up rocks every 2–3 years.
- Inspect edging and drainage after storms.
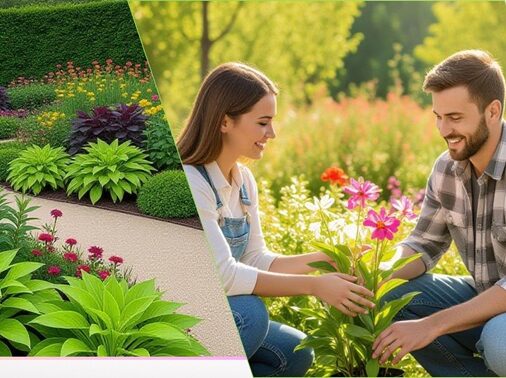
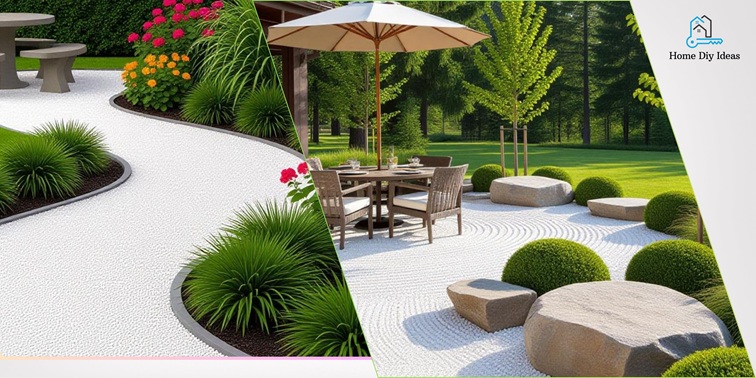
Landscaping Design Ideas
1. Shaded Corners
Use white rock under trees or beside fences to brighten dark spaces. Pair with shade-tolerant ferns or hostas for contrast.
2. Modern Front Yard Border
Line driveways or walkways with 12–24 inch white rock strips bordered by black edging or concrete for sharp definition.
3. Drought-Resistant Garden
Surround succulents or ornamental grasses with white pebbles. Add drip irrigation for low-water maintenance.
4. Water Feature Accent
Use smooth pebbles around ponds or fountains to highlight reflections and create a tranquil look.
Cost & Coverage Guide
| Area (sq ft) | Depth | Cubic Yards | Average Cost (USD)* |
| 100 sq ft | 2 in | 0.62 yd³ | $50–$100 |
| 200 sq ft | 3 in | 1.85 yd³ | $150–$300 |
| 300 sq ft | 3 in | 2.77 yd³ | $225–$450 |
Costs vary by rock type and region.
Quick Materials Checklist
- White rock (marble, quartz, or limestone)
- Landscape fabric
- Shovel, rake, and wheelbarrow
- Edging materials
- Optional lighting
- Hose for cleaning
Common Pitfalls to Avoid
- Glare in sunny spots – Choose off-white tones or mix with tan gravel.
- Debris stains – Avoid overhanging trees that drop leaves or sap.
- Heat near walls – Rocks can reflect heat onto nearby plants or siding.
- Poor drainage – Always grade properly before installation.
- Skipping weed barrier – Results in unwanted growth and difficult cleaning.
FAQs About White landscaping rock
It stays bright with minimal upkeep—just rinse annually to remove dust and debris.
Yes. It provides contrast and moisture retention but doesn’t supply nutrients, so fertilize plants as needed.
With quality landscape fabric, weed growth is minimal. Occasional hand-pulling may be required.
It reflects light rather than absorbing heat, keeping surfaces cooler than darker gravel.
Indefinitely. With proper maintenance, it won’t rot or fade significantly—just replenish occasionally for even coverage.
Conclusion
White landscaping rock is one of those rare design elements that brings both practicality and elegance to your outdoor space. It brightens shaded areas, complements greenery, and reduces long-term maintenance. Whether you’re upgrading a small garden bed or re-defining your front yard, white rock offers lasting visual appeal and durability.
Start small—pick one area of your yard and try it out. You might be surprised how a few tons of crisp white rock can completely transform your outdoor space.