Retaining walls aren’t just structural necessities—they’re blank canvases of possibility. In my years working hands-on with clients and doing landscape design, I’ve seen how thoughtful retaining wall landscaping can transform slopes into showpieces. In this article, I’ll share deeper insight than generic how-tos—grounded in experience, engineering thinking, and design sense—to help you unlock the full potential of your retaining walls.
Before we dive in, here’s a quick content gap analysis so you know how this post aims to offer something different:
Why Retaining Wall Landscaping Matters (Beyond “holding soil”)
Before design, let’s ground ourselves in purpose. A robust retaining wall does:
- Erosion & soil stabilization
- Water management & drainage control
- Creation of usable flat terraces or beds on slopes
- Opportunities for visual interest, vertical layers, seating, focal features
But the real magic happens when the wall becomes part of the garden—not just structure, but artistry.
Key Principles to Honor from the Start
These principles ensure your walls are beautiful and long-lasting:
- Drainage is non-negotiable
Many walls fail not from poor stone, but from trapped water pressure behind them. Always include perforated drainpipe, porous backfill (gravel), and weep holes if needed. - Foundation & compaction
A well-compacted gravel or crushed stone base is essential. The first course must be dead level—errors amplify upward. - Know your soil & site pressures
If your soil is clay, or you’re on a steep site, reinforcement (like geogrid) may be necessary. Unstable slopes demand extra care. - Height & local code awareness
Many jurisdictions require engineering or permits for walls above about 3–4 feet. Always verify local codes early. - Think in layers: hardscape + softscape
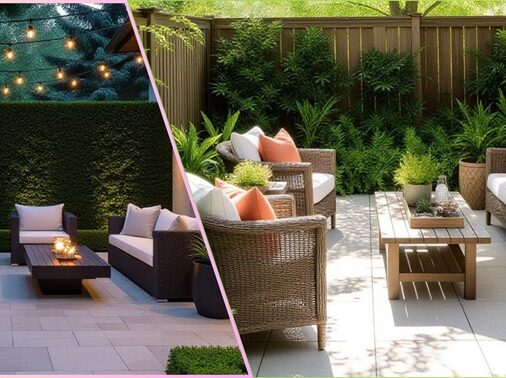
A wall should not feel isolated. Integrate planting pockets, lighting, seating, or water features to soften and enliven it.
With these in mind, let’s move to actual design ideas and step-by-step guidance.
Creative Landscaping Ideas for Retaining Walls
Here are some of my favorite techniques—each adaptable to your slope, climate, and style:
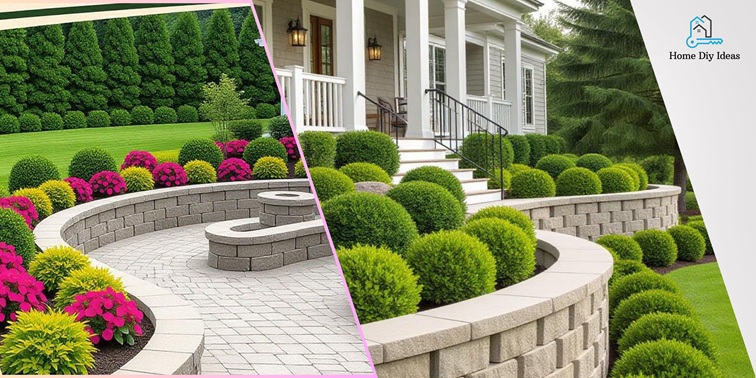
1. Terraced Gardens & Step-back Beds
Use multiple low walls instead of one high wall. This gives you space for tiered planting beds, easy access, and visual layering. In effect:
- Upper terrace = shrubs or small trees
- Mid level = perennials, groundcovers
- Lower bed = seasonal color or bulbs
Why I often choose this: it breaks up wall height stress, helps drainage, and feels more natural.
2. Integrated Seating or Bench Walls
Turn part of the retaining wall into built-in seating (use wide capstones). This makes your wall serve double duty—not just structural, but social.
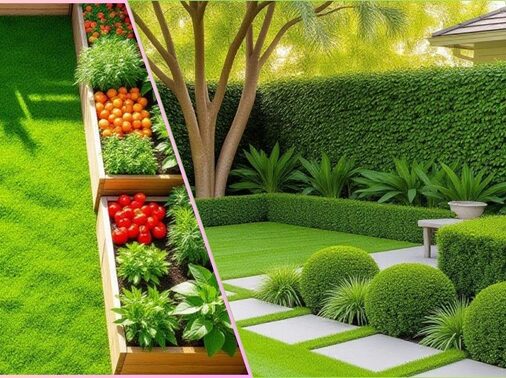
3. Planting Pockets & Cascading Vegetation
Leave voids or recesses in your wall where you can insert soil and plant trailing plants (e.g. creeping thyme, sedum, small shrubs). This softens the “hard edge.”
4. Light & Shadow Play
Embed LED strips under caps or accent uplights behind wall edges. Lighting adds drama at night and makes the wall part of the evening garden.
5. Water Features & Spillways
A cascading water feature can flow over the wall’s face or spill into a pond at the base. The wall becomes the supporting structure for the fountain.
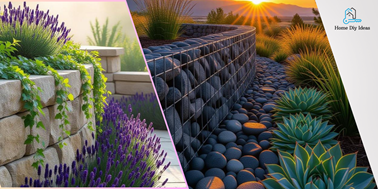
6. Mixed Materials or Textural Contrasts
Combine stone with wood timbers, corten steel accents, or smooth concrete inserts. Mixing materials can give visual richness.
7. Curved Walls & Organic Shapes
Straight lines are safe, but gently curved walls (convex or concave) invite movement and interest—especially in a garden with flowing forms.
8. Vertical Green / Living Wall Treatments
On taller walls, consider a trellis grid for climbing vines (e.g. clematis, star jasmine) or modular living-wall systems that mount into the masonry.
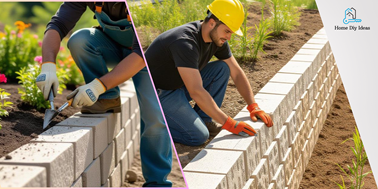
Step-by-Step Guide to Building & Landscaping a Retaining Wall
Here’s how I approach it in real jobs—adaptable to different materials (stone, block, timber):
| Step | Key Tasks | Tips / Warnings |
| 1. Planning & layout | Mark wall alignment, check elevation changes | Call utility locators before digging |
| 2. Excavate & trench | Dig trench to depth for base + first course | Slope it slightly back to allow drainage |
| 3. Base & leveling | Add 4–6 in (10–15 cm) of compacted gravel | Use plate compactor; check level frequently |
| 4. Drainage assembly | Lay drainpipe behind the wall, wrap in filter sock | Ensure slope outward for water flow |
| 5. First course | Place the first row with tight joints, level in both directions | Imperfections magnify upward |
| 6. Subsequent courses / reinforcement | Stagger joints, add geogrid (for tall walls) | Always keep alignment and plumb |
| 7. Backfill & compact | Use porous gravel; compact in lifts (not all at once) | No clay or fine soils right behind wall |
| 8. Capping & finishing | Place capstones with adhesive or mechanical fixes | Overhang slightly for drip edge |
| 9. Landscape & plant | Insert planting pockets, install lighting, softscape tie-ins | Water regularly until plants establish |
| 10. Ongoing maintenance | Check for settlement, redirect surface water, refill soil as needed | Keep the wall’s base drainage clear |
In one of my past jobs, we faced a slope with heavy clay. We inserted a vertical perforated pipe to relieve deep seepage and planted moisture-tolerant shrubs on the lower level to handle occasional overflow. That small extra step prevented a wall shift down the road.
Practical Tips & Checklist Before You Break Ground
- ✅ Check local building codes / permits
- ✅ Conduct a soils test (especially for clay, sand, or silt)
- ✅ Plan for drainage first—don’t treat it as an afterthought
- ✅ Match design to house style (stone type, color, texture)
- ✅ Choose plantings suited to sun/shade, slope, and water retention
- ✅ Budget for substructure (not just visible wall)
- ✅ Schedule landscaping (plants) after wall settles (~a month)
- ✅ Monitor first heavy rains and watch for any wall movement
FAQ: Front Yard Landscaping + Retaining Walls
Yes—by designing planting pockets or shallow infill behind shorter walls, you can grow shrubs, perennials, or grasses right into the wall structure.
Rules vary, but commonly walls above 3–4 feet (0.9–1.2 m) require structural engineering, permits, and reinforcement. Always check your local code.
Low groundcovers (creeping thyme, sedum, moss)
Ferns or shade lovers for north-facing walls
Climbing vines (clematis, ivy) with trellis
Drought-tolerant grasses for sun-exposed faces
As much as possible—aim for at least 1% slope (1 ft per 100 ft) toward an outlet or collection point.
Yes, for lower walls (under ~2–3 ft) with level ground and good access. But for higher walls, tricky terrain, or heavy loads, hire professional help.
Conclusion
Turning a retaining wall into a landscape asset requires blending engineering foresight with creative planting and design. The walls that last and enchant are the ones that honor both structure and softness.