Creating your first landscape drawing can feel both exciting and a bit intimidating—I’ve been there. In this post, I’ll walk you through fresh, doable ideas, practical tips, and insights you might not find in every tutorial. I’ll also share what others often miss so you get something unique and trusted.
Getting Started – The Basics Every Beginner Should Know
Before you pick your subject, it helps to understand a few core concepts. These will make any landscape drawing easier and more successful.
Choose Your Tools and Materials
Start simple—you don’t need expensive art supplies:
- Pencils: HB or 2B for sketching.
- Paper: Smooth drawing paper or sketchbook.
- Eraser: Kneaded or vinyl eraser for light corrections.
- Optional: Ink pens or colored pencils for finishing touches.
- Pro tip: Work small at first; it reduces pressure and builds confidence.
Simplify What You See
Most beginners get overwhelmed by details. Try this approach:
- Identify the horizon line (where sky meets land).
- Divide the scene into foreground, middleground, and background layers.
- Sketch big shapes first—mountains, trees, rivers—then refine smaller details.
- Use light vs. dark contrast to show depth and dimension.
Choose a Strong Composition
A good composition makes even a simple drawing look professional:
- Use the rule of thirds to position your horizon or focal point.
- Include leading lines like paths or rivers to guide the viewer’s eye.
- Frame your scene with natural shapes—trees, rocks, or clouds.
- Keep it clean: fewer, larger shapes often look better than clutter.
7 Easy Landscape Drawing Ideas for Beginners
Here are seven beginner-friendly landscape drawing ideas, each designed to help you master different skills:
| # | Idea | Description | Why It’s Beginner-Friendly |
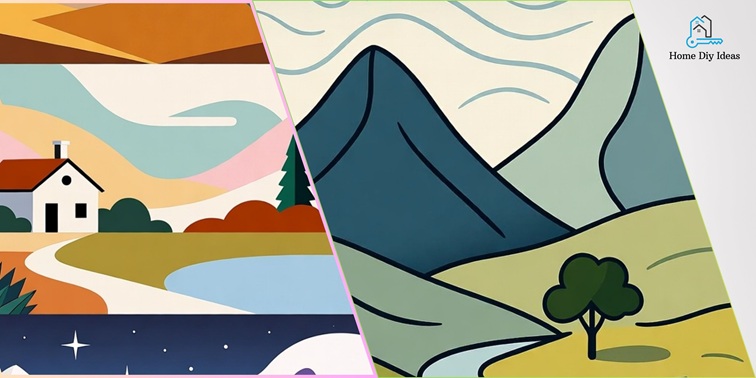
| 1 | Rolling Hills & Silhouetted Trees | Gently curved hills with a few dark trees in front. | Simple shapes, easy depth effect. |
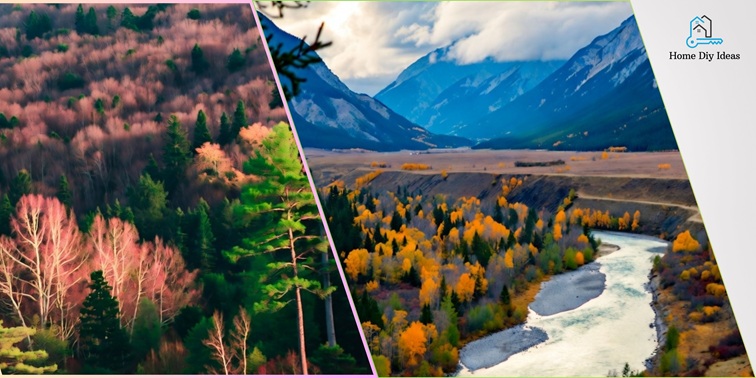
| 2 | Mountain Range at Dusk | Layered mountains fading into mist or sky. | Practice atmospheric perspective. |
| 3 | Riverside or Lake View | Calm water with reflections and shoreline trees. | Symmetry helps guide proportions. |
| 4 | Village or Urban Scene | Houses or rooftops with distant hills. | Combines nature and structure. |
| 5 | Forest Pathway | A curving path through trees with light filtering in. | Leading lines add natural flow. |
| 6 | Beach or Coastal View | Horizon, gentle waves, maybe a lighthouse. | Clear, horizontal layout. |
| 7 | Sunrise or Sunset Silhouette | Dark foreground with glowing sky colors. | Focuses on values and contrast. |
Step-by-Step Example: Rolling Hills & Silhouetted Trees
- Draw a horizon line about one-third from the top.
- Outline a few wavy hills using light pencil lines.
- Add tree silhouettes—simple shapes, no need for detail.
- Shade the foreground darker to create depth.
- Add light sky gradients or soft clouds.
- Erase stray marks and refine edges.
- Optional: Add gentle pencil shading to show sunlight direction.
This simple exercise builds confidence and teaches you to layer tones effectively.
Pro Tips to Improve Your Landscape Drawings
- Work from large to small shapes—structure first, detail later.
- Vary line weight: thicker for foreground, lighter for background.
- Use photo references but adapt them—don’t copy directly.
- Try thumbnail sketches: small 2×3″ sketches to test ideas.
- Keep pencils sharp for cleaner details.
- Step back often; fresh perspective reveals balance issues.
- Embrace imperfections—every sketch improves your observation skills.
Handy Landscape Drawing Checklist
Use this checklist during each sketch session:
- Choose your subject and composition.
- Lightly draw the horizon line.
- Sketch major shapes (mountains, trees, water).
- Add middle and foreground details.
- Refine shadows and highlights.
- Adjust line thickness for depth.
- Add optional texture or color.
- Step back and review overall balance.
- Sign and date your sketch!
FAQ – Common Beginner Questions
Add layers! Make the background lighter and less detailed, and keep the foreground darker and sharper. Overlapping elements also boost depth.
Start in pencil. Once you’re confident with shapes and contrast, experiment with colored pencils or light watercolor washes.
Use everyday views—parks, roads, backyards—or browse online photo libraries. Focus on shapes and light rather than exact replication.
About 20–30 minutes is perfect for practice sketches. If you spend too long, you may overwork details.
Drawing everything with equal detail. Prioritize one area (the focal point) and keep the rest simpler.
Conclusion
Drawing landscapes isn’t about perfection—it’s about observation, relaxation, and creativity. The more you practice simplifying scenes and layering tones, the faster your confidence grows.
So, grab your sketchbook, pick one of these seven ideas, and set a timer for 20 minutes. You’ll be amazed how much you can create in that short time.