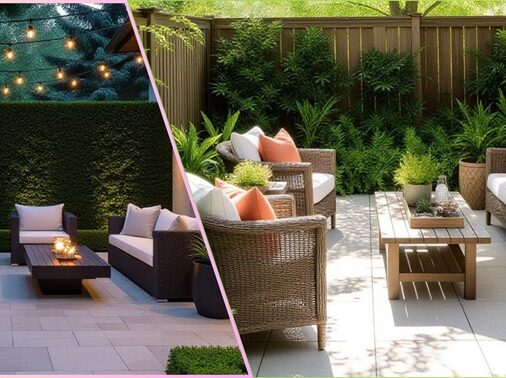
When I first moved into my home, the backyard felt like an awkward leftover space—too small for a full patio, too exposed to ignore. But one crisp autumn evening I lit a fire pit in a modest clearing I carved out, and everything changed. The glow, the warmth, the shift from “just yard” to “evening sanctuary”—that’s when I understood the magic of small backyard fire pits.
In this post, I’ll walk you through small backyard fire pit ideas landscaping that blend form, function, and intuition. We’ll explore what top-ranking guides miss, then dive into step-by-step advice, layout ideas, safety tips, plant palettes, and FAQs. All with a tone of experience, so you can move confidently from dream to reality.
Why Fire Pits Work Beautifully in Small Backyards
Small yards have hidden potential. A fire pit becomes both a visual anchor and a social magnet. Here’s why it works:
- A modest fire pit provides a sense of gathering without needing a large patio.
- Hardscape and softscape can be balanced so the area feels open yet defined.
- Smart layouts maximize every square foot while maintaining safe clearances.
- The combination of warmth, light, and natural textures transforms even a tiny space into a retreat.
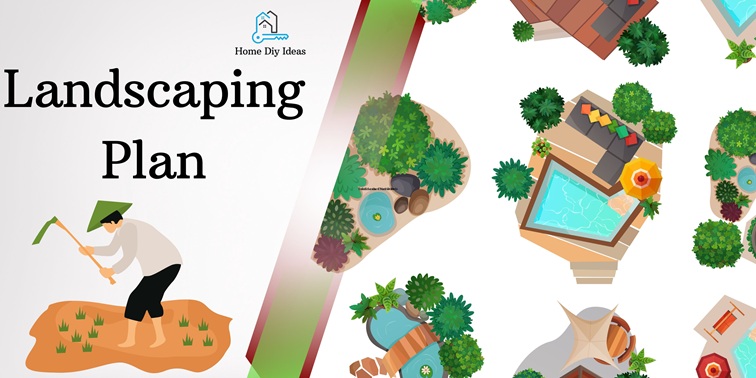
Step-by-Step Landscaping Plan
Below is a professional, beginner-friendly plan for creating a fire pit area in a small yard.
Phase 1: Research & Site Assessment
- Check local regulations
- Confirm setbacks from house, fences, and trees.
- Check if wood fires are allowed or if a gas setup is required.
- Confirm setbacks from house, fences, and trees.
- Measure and map your yard
- Sketch the space and include all permanent structures.
- Mark sun direction, slope, and potential drainage areas.
- Sketch the space and include all permanent structures.
- Choose your fire pit location
- Aim for a central or corner placement that maintains at least 10 ft of clearance from structures.
- Use circles (8–10 ft wide) to visualize seating zones.
- Aim for a central or corner placement that maintains at least 10 ft of clearance from structures.
- Test soil and drainage
- Observe how water flows after rain.
- If pooling occurs, plan for gravel base or drainage pipe.
- Observe how water flows after rain.
- Set a realistic budget
- DIY kits: $100–$300
- Masonry or paver setups: $500–$1,200
- Custom stone pits: $1,500+
- DIY kits: $100–$300
Phase 2: Base & Structure Preparation
- Mark and dig the fire pit footprint
- Outline the pit with paint or string.
- Excavate 4–6 inches deep and ensure a level base.
- Outline the pit with paint or string.
- Add a drainage layer
- Lay 2–4 inches of crushed stone topped with 1 inch of sand.
- Use a tamper for compaction.
- Lay 2–4 inches of crushed stone topped with 1 inch of sand.
- Build your pit wall
- Stack fire-rated bricks or blocks in a circle or square.
- Stagger seams for strength.
- Leave small gaps between some bricks for airflow.
- Stack fire-rated bricks or blocks in a circle or square.
- Cap with smooth stones
- Adds visual polish and comfort for resting drinks or hands.
- Adds visual polish and comfort for resting drinks or hands.
Phase 3: Hardscape & Seating Layout
- Create a fire pit patio zone
- Use gravel, pavers, or decomposed granite around the pit.
- Minimum 6–8 ft radius for safety and seating.
- Use gravel, pavers, or decomposed granite around the pit.
- Add seating
- Built-in stone benches or lightweight outdoor chairs.
- Keep at least 24 inches between seats and pit rim.
- Built-in stone benches or lightweight outdoor chairs.
- Pathways and connections
- Link pit area to the house or patio using simple stepping stones.
- Softly curve paths to make the space feel larger.
- Link pit area to the house or patio using simple stepping stones.
- Edge transitions
- Add metal edging or low stone borders to define space neatly.
- Add metal edging or low stone borders to define space neatly.
- Lighting and ambiance
- String lights, solar lanterns, or path lights set the tone.
- Warm lighting temperatures (2700–3000K) feel inviting.
- String lights, solar lanterns, or path lights set the tone.

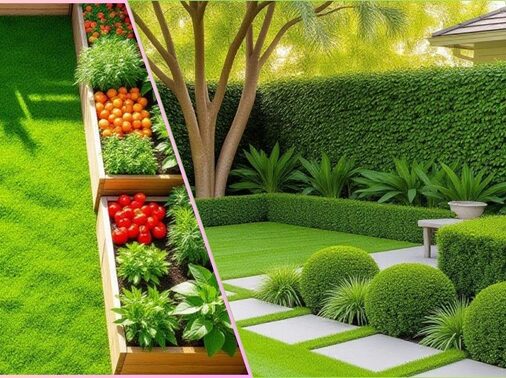
Phase 4: Planting & Softscape
- Select compact, heat-tolerant plants
- Choose shrubs or grasses under 4 ft tall.
- Include aromatics like lavender, rosemary, or thyme for sensory appeal.
- Choose shrubs or grasses under 4 ft tall.
- Layer plants for depth
- Front: groundcovers (creeping thyme, sedum)
- Middle: low shrubs or ornamental grasses
- Back: taller screens (bamboo, dwarf conifers)
- Front: groundcovers (creeping thyme, sedum)
- Mulch & irrigation
- Apply 2–3 inches of mulch to control weeds.
- Use drip irrigation or manual watering away from the fire pit wall.
- Apply 2–3 inches of mulch to control weeds.
Phase 5: Finishing Touches
- Add accessories
- Spark screens, fire pokers, and log storage enhance usability.
- Include a small side table or tray for food and drinks.
- Spark screens, fire pokers, and log storage enhance usability.
- Test safely
- Burn dry wood only.
- Keep a bucket of sand or extinguisher nearby.
- Burn dry wood only.
- Maintain regularly
- Remove ash, reseal stone annually, and check for cracks.
- Remove ash, reseal stone annually, and check for cracks.
Small-Space Fire Pit Layout Ideas
| Layout | Description | Best For | Tips |
| Corner retreat | Pit nestled into a corner with curved bench | Compact yards | Use shrubs behind seating to soften corners |
| Center circle | Pit centered with 4 chairs around | Balanced look | Works well in square yards |
| Linear lounge | Fire pit along edge with seating facing inward | Narrow yards | Ideal for rectangular spaces |
| Sunken nook | Recessed pit with low retaining wall | Sloped yards | Add drainage gravel to prevent water buildup |
Material & Cost Comparison
| Type | Look | Cost Range | Skill Level | Lifespan |
| Steel bowl or kit | Modern, mobile | $100–$400 | Easy | 5–10 years |
| Brick or paver pit | Classic, rustic | $500–$1,200 | Intermediate | 10–15 years |
| Custom stone or concrete | Premium, permanent | $1,500+ | Advanced/pro | 20+ years |
Safety & Best Practices
- Maintain 10 ft clearance from flammables.
- Never use river rocks inside pits—they may explode when heated.
- Keep extinguishing tools handy.
- Avoid overhanging trees or roofs.
- Regularly inspect masonry and joints for cracks.
- Follow local regulations for open flame use.
Planting Palette for Cozy Fire Pit Landscaping
| Plant | Function | Benefit |
| Dwarf boxwood | Evergreen structure | Year-round greenery |
| Blue fescue | Ornamental grass | Adds motion and texture |
| Lavender | Fragrant border | Repels mosquitoes |
| Creeping thyme | Groundcover | Aromatic and walkable |
| Compact bamboo | Privacy screen | Fast growth, minimal space |
FAQs: Homeowner Questions
Only if the deck is made of non-combustible material and you use a fireproof mat or gas setup.
At least 10 feet—more if wind often blows toward the home.
Some cities require permits for wood-burning pits. Always check local codes.
3–4 feet in diameter is ideal—large enough for comfort but easy to fit.
Yes. Propane or natural gas pits are cleaner, low-smoke, and easier to control.
Final Thoughts & Call to Action
Your small backyard has more potential than you think. With the right layout, materials, and planting choices, a fire pit can transform it into your favorite evening retreat.
Start simple—measure, plan, and sketch your dream setup. Whether it’s a cozy corner nook or a central gathering spot, your fire pit can bring both warmth and style to your home.