Landscape oil painting is more than capturing “trees and sky.” It’s about seeing depth, feeling atmosphere, and telling the story of place. When I paint a hillside bathed in late-afternoon light, I’m not just replicating what I saw—I’m interpreting value, texture, and emotion.
If you’re new to this, you’ll find a dependable roadmap here. And if you’re collecting landscapes, you’ll learn to distinguish between decorative prints and truly valuable original works.
1. Getting Started: The Fundamentals of Landscape Oil Painting
Why oil is ideal for landscapes
Oil paints offer richness, flexibility, and a slow drying time, allowing for subtle blending and layering. This quality makes it perfect for capturing nature’s nuanced light and atmosphere.
Core rules every beginner should know
| Rule | Why it matters | Quick tip |
| Fat over lean | Prevents cracking as paint layers dry. | Thinner underlayers, richer top layers. |
| Value before detail | Good light-dark contrast gives depth. | Start with a monochrome value sketch. |
| Simplify shapes | Avoids visual clutter. | Begin with big shapes, refine later. |
| Set a focal point | Adds purpose to the composition. | Emphasize with contrast or color. |
Beginner checklist
- Prime or tone your canvas (avoid bright white).
- Create a quick thumbnail sketch for balance.
- Block in main values before adding color.
- Work broad to detailed, background to foreground.
- Respect drying time between layers.
- Step back often—fresh perspective sharpens your vision.
2. Painting a Landscape Oil – Step-by-Step Workflow
Step 1: Prepare the canvas
Apply a coat of gesso, then tint it with a neutral wash like burnt sienna. This helps you judge tonal balance as you paint.
Step 2: Map the values
Use thinned paint or charcoal to establish light and shadow shapes. Think of this as the skeleton of your painting.
Step 3: Block in color and atmosphere
Work from sky to land. Use cooler, lighter tones for distant areas and warmer, darker tones for the foreground to create depth and distance.
Step 4: Define your focal point
Decide where the viewer’s eye should land—a sunlit tree, a winding path, a glowing horizon. Use sharp edges and higher contrast here.
Step 5: Add texture and refinement
Apply thicker paint in foreground elements for realism and energy. Use soft blending in distant elements for atmospheric softness.
Step 6: Glaze and finalize
Once dry, you can glaze subtle color shifts to unify tones. A thin varnish later enhances contrast and protects your work.
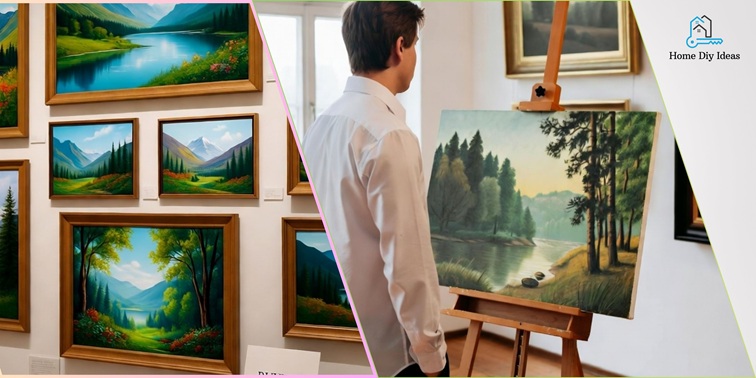
3. Collector’s Guide: Buying and Collecting Landscape Oil Paintings
What makes a landscape oil painting valuable
- Medium authenticity – Ensure it’s true oil paint, not a digital or acrylic imitation.
- Condition – Check for cracks, yellowing, or flaking.
- Composition and atmosphere – Depth, perspective, and light mastery add timeless appeal.
- Artist reputation – Research their background and series.
- Provenance – A record of ownership enhances both value and trust.
Collector’s checklist
- Verify authenticity (oil paint texture is tactile and dimensional).
- Review provenance and artist documentation.
- Check the back of the canvas for artist marks.
- Inspect for restoration or varnish changes.
- Compare pricing with similar works by the same artist.
- Frame and display using acid-free, archival materials.
Preservation and display
- Avoid direct sunlight and damp environments.
- Maintain stable humidity and temperature.
- Use UV-protective glass when framing.
- Dust gently with a soft brush—never use cleaners or sprays.
Building a meaningful collection
Start small, buy what moves you emotionally, and grow organically. Keep notes about each piece: purchase date, artist, and story. Over time, your collection will reflect your aesthetic journey and values.
4. Integrating Painting and Collecting
If you’re a painter aiming to sell
- Document your process with dates and materials.
- Sign your work discreetly but visibly.
- Use professional-grade paints and supports.
- Maintain consistency in style and presentation for collector trust.
If you’re a collector learning to paint
- Learn technical basics like value, perspective, and color temperature—this sharpens your eye for quality.
- Observe how professional artists create atmosphere and depth.
- Visit galleries and compare your observations to real works.
5. Quick Tips Summary
For Painters
- Start with a limited palette for harmony.
- Prioritize composition and value over detail.
- Use atmospheric perspective for depth.
- Keep a painting journal to track growth.
For Collectors
- Research the artist and verify materials.
- Care for paintings like heirlooms.
- Frame correctly and keep away from moisture.
- Collect from passion, not speculation.
FAQ – Common Queries About Landscape Oil Paintings
Start with 16″×20″ or smaller—it’s large enough for learning, yet manageable.
Four to six primary colors are enough to mix almost any natural tone.
Look for visible brushstrokes, texture, and slight imperfections. Prints have uniform surfaces.
Keep away from sunlight and humidity, use proper framing, and avoid cleaning solutions.
Yes, but buy what you love first—emotional connection adds lasting value.
Conclusion
Whether you’re holding a palette knife or curating a wall of serene vistas, landscape oil paintings connect us to nature’s stillness and grandeur. Creating them teaches you patience and observation; collecting them teaches you discernment and preservation.
Take this as your call to action: pick up the brush or seek out a piece that moves you. Both paths lead to a deeper appreciation of beauty—and to art that endures for generations.