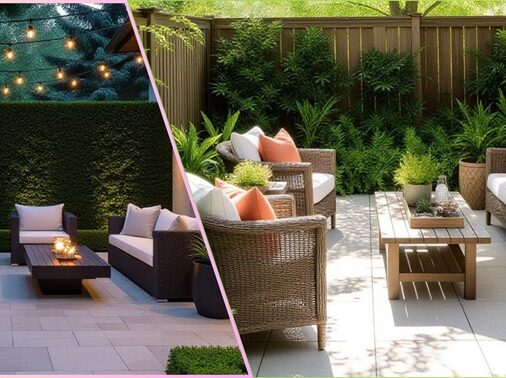
When visitors pull up to your home, your mailbox is often the very first element they notice. Too many mailboxes sit in solitude—plain metal against grass—unremarked and underused. But imagine instead a mailbox nestled in a charming garden, softly framed by plants, edged with stone, illuminated at night. Suddenly your mailbox becomes a micro focal point that elevates your entire frontage.
In this post I’ll show you how to give your mailbox a makeover that’s as practical as it is beautiful. You’ll get a fresh perspective on proportion, plant selection, structure, and maintenance. Let’s turn that humble post into a curb-appeal gem.
Key Principles Before You Dig
Before pulling your shovel, keep these overarching design principles in mind:
- Scale & Proportion
Your mailbox garden should be congruent with the mailbox size, the width of your yard, and the surrounding architecture. - Clear Access / Visibility
Ensure mail carriers (and you) have easy access. Avoid high shrubs or vines blocking action. - Low-maintenance zones
Mailboxes face hard conditions: wind, road salt, compacted soil. Choose resilient plants and set up maintenance buffers. - Seasonal interest
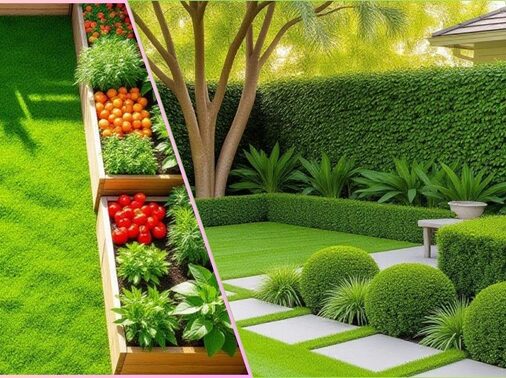
Aim for structure in winter (evergreen or textured shrubs) plus blooms in spring–summer–fall.
Practical Steps to a Mailbox Makeover
Here’s a step-by-step roadmap you can follow, whether you’re starting from scratch or refreshing an existing setup.
Step 1: Evaluate Site Conditions
- Observe sun/shade patterns at the mailbox location (morning, midday, afternoon).
- Check soil: Is it heavy clay, sandy, compacted?
- Note micro-conditions: road salt spray, snow accumulation, lawn mower traffic.
- Sketch a mini plan: show the mailbox, curb, driveway, sidewalk, and an outline of proposed planting radius (e.g., 3–4 ft around mailbox).
Step 2: Choose a Design Template
Below are common design archetypes. Choose or adapt for your style:
| Style Template | Characteristics | Best For |
| Ring or halo bed | A circular or semi-circular planting bed around the post | Balanced, classic look |
| Asymmetrical accent bed | Planting heavier on one side or cascading style | Adds movement, modern flair |
| Layered base + backdrop | Low groundcovers in front, mid-height perennials, back evergreen or structural shrubs | Works well when mailbox is slightly receded |
| Container / planter hybrid | Use built-in or attached planters with soil and plants | Good when soil is poor or for tighter spaces |
Step 3: Prepare the Base & Borders
- Edge carefully (with pavers, brick, stone, or metal edging) so grass doesn’t creep in.
- Loosen soil to a depth of 8–10 inches, adding compost or organic matter.
- Grade gently so water doesn’t pool at the mailbox base.
- Lay a weed barrier (optional) under planting soil, but leave gaps around each planting hole so roots grow freely.
Step 4: Select Your Plants & Placement

I recommend layering three vertical zones around the mailbox:
- Backdrop / anchor plants: small evergreen (e.g. dwarf boxwood, small juniper) or textured grasses behind.
- Middle bloomers & texture: perennials or shrubs with seasonal interest (e.g. salvia, sedum, rudbeckia, lavender, ornamental grasses).
- Edge / groundcovers: creeping thyme, creeping phlox, sedum, low vinca, or even moss in shade.
Checklist for plant selection:
- Hardy in your climate / USDA zone
- Tolerant of exposure, wind, road conditions
- Non-obstructive growth (don’t block mailbox face)
- Low or predictable pruning
- A mix of evergreen + seasonal interest
Step 5: Install in Layers
- Begin with the structural and largest plants first (back / anchor).
- Add mid-level bloomers and shrubs.
- Finally plant edge groundcovers.
- Mulch with 2–3 inches of organic mulch (wood chips, shredded bark) — leave small gaps near the mailbox post.
- Water deeply after planting; use a slow soak to minimize soil disturbance.
Step 6: Add Lighting, Address, and Finishing Touches
- Use low-voltage path lights or spotlights to softly illuminate the mailbox in the evening.
- Clear, elegant address numbers or plaques on the post or integrated into the edging give a polished look.
- Optionally, a small accent like a decorative stone, garden stake, or seasonal ornament can add personality—just ensure it’s not obstructive.
Step 7: Maintenance & Adjustment
- Replenish mulch annually.
- Trim annually or as needed to preserve sightlines and prevent overgrowth.
- Watch for soil compaction — gently aerate if needed.
- Replace any plants that struggle; soil around mailboxes often shifts.
Sample Month-by-Month Checklist
| Time of Year | Task | Why |
| Early Spring | Clean up old debris, check edging | Prepares bed before growth |
| Spring | Plant or transplant, mulch, apply light fertilization | Establishes healthy roots |
| Summer | Monitor watering, weed, trim stragglers | Prevent overcrowding |
| Late Summer / Early Fall | Deadhead, adjust planting gaps | Maintain visual interest |
| Winter | Clear snow accumulation if any, inspect lighting | Protect structural elements |
Design Tips & Aesthetic Considerations
- Transition to the rest of your yard: Use shared materials (stone, plant palette) to make the mailbox garden feel integrated.
- Mind the road side: Accent the side facing street more boldly, since that’s the viewer’s perspective.
- Use repetition: If you have similar plants in your front bed, echo them here for cohesion.
- Texture + contrast: Pair spiky grasses, soft foliage, blooms, and berries for layered depth.
- Simplicity wins: Don’t overcrowd—leave breathing space so the mailbox still “speaks.”
- Year-round interest: Even in winter, an evergreen form or structure (ornamental grass movement) gives presence.
FAQ
Leave at least 3–4 inches of bare soil around the post to avoid soil heaving, moisture trap, and ease of painting or repairs.
Use rigid edging and select resilient plants. Keep a buffer of 6–12 inches between curb/edge and planting zone to reduce snow spray impact.
Yes—but cautiously. Use slow-growing vines (e.g. clematis) and train them so they don’t obstruct mail slot or hardware. Avoid aggressive climbers that can overtake the structure.
Use raised planting mound or imported topsoil mix. Alternatively, use containers or planter boxes integrated around the base.
Not mandatory, but lighting adds dramatic evening appeal and safety. Focus a small, low-watt spotlight upward (moonlighting effect) rather than harsh direct light.
Conclusion
Your mailbox can be much more than a functional delivery point—it can be a signature accent that announces the character of your home before guests even knock. With thoughtful design, proper plant layering, scale awareness, and maintenance strategy, your mailbox makeover will amplify your curb appeal in a way that feels polished and personal.