
Creating clean, defined edges in your garden or lawn can completely transform your outdoor space. Among all edging materials, aluminum landscape edging stands out for its sleek appearance, durability, and ease of installation. As a landscaping enthusiast and professional, I’ve found aluminum edging to be one of the most versatile solutions for homeowners seeking long-lasting, modern curb appeal.
In this guide, I’ll break down everything you need to know—from benefits and installation tips to real-world pros and cons—based on a comparison of top competitor content and expert insights.
What is Aluminum Landscape Edging?
Aluminum landscape edging is a flexible metal border used to separate lawn, mulch, gravel, or flower beds. It creates crisp lines and prevents soil or grass from spilling into other areas.
Why Homeowners Prefer Aluminum
- Lightweight yet strong
- Rust-resistant and weatherproof
- Flexible for curves and modern geometric shapes
- Clean, professional finish
Benefits of Aluminum Landscape Edging
| Feature | Benefit |
| Lightweight | Easy to carry and install without heavy equipment |
| Corrosion-resistant | Won’t rust like steel or rot like wood |
| Flexible | Works for curves and straight lines |
| Low maintenance | Once installed, it lasts for decades |
Aluminum vs Other Edging Materials
| Material | Durability | Flexibility | Maintenance | Appearance |
| Aluminum | High | High | Low | Modern & Sleek |
| Steel | Very High | Low | Medium | Industrial |
| Plastic | Low | High | Medium | Basic |
| Wood | Medium | Low | High | Rustic |
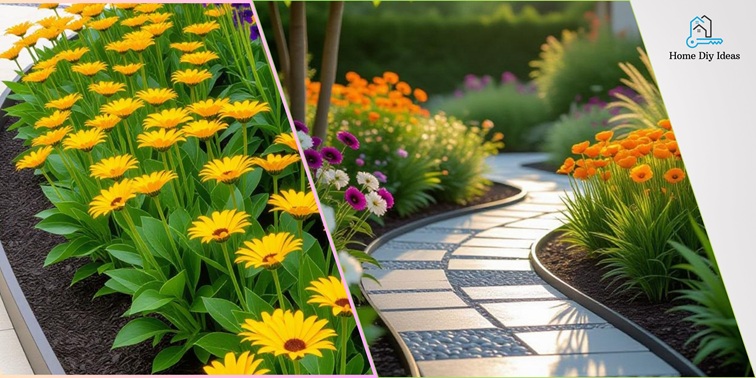
Ideal Uses for Aluminum Edging
- Separating mulch beds from lawn
- Creating modern geometric pathways
- Lining gravel driveways
- Edging flower and shrub borders
DIY Installation: Step-by-Step Guide
Tools & Materials Checklist
✔ Aluminum edging strips
✔ Stakes & connectors
✔ Rubber mallet
✔ Spade or edging shovel
✔ Level
✔ Garden gloves
Step 1: Plan Your Layout
Mark the boundary using string or spray paint. Decide whether you want curves or straight edges.
Step 2: Dig a Trench
Dig a shallow trench (2–3 inches deep) along the boundary line.
Step 3: Place the Edging
Insert aluminum edging into the trench, ensuring the top is level with the ground.
Step 4: Secure with Stakes
Use stakes or connectors every 2–3 feet to stabilize the edging.
Step 5: Backfill and Finish
Pack soil or mulch tightly against the edging for stability.
Pro Tips from Experience
- Bend slowly when forming curves to avoid creasing the metal.
- Use long continuous strips for cleaner lines.
- Leave ½ inch exposed for a visible, modern border.
Design Ideas Using Aluminum Edging
Modern Landscape Ideas
- Minimalist garden grids
- Linear mulch strips along walkways
- Curved zen borders around ornamental trees
Best Color Finishes
- Natural silver
- Black powder-coated
- Bronze or custom finish
Maintenance & Longevity
- Clean annually by brushing dirt or mulch off the top edge.
- If edging shifts, gently tap back into place with a rubber mallet.
- Expect 20+ years of durability with minimal upkeep.
Pros & Cons of Aluminum Landscape Edging
| Pros | Cons |
| Lightweight & easy to install | Higher cost than plastic |
| Modern, clean design | Harder to cut without metal snips |
| Long-lasting, rust-proof | Not ideal for heavy-duty impact areas |
Cost & Budget Planning
| Project Size | Estimated Cost |
| Small Garden (20 ft) | $60 – $100 |
| Medium Yard (50 ft) | $150 – $250 |
| Large Perimeter (100 ft) | $300 – $500 |
Frequently Asked Questions
No. Aluminum is naturally corrosion-resistant and won’t rust like steel.
Yes, but avoid frequent heavy impacts. It’s durable but not indestructible.
Conclusion
If you’re aiming for modern, low-maintenance landscaping, aluminum edging is one of the best investments you can make. It brings long-lasting structure, elevates curb appeal, and works beautifully in both minimalist and traditional gardens.


