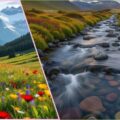
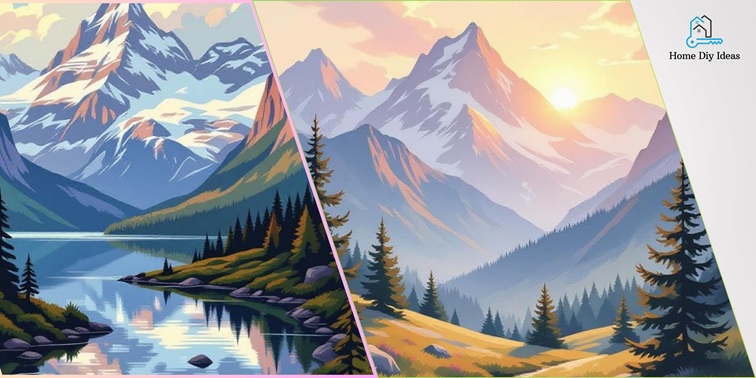
When I look at a mountain peak silhouetted against a vast sky, I see more than stone and snow — I see rhythm, depth, and a story written in light. Over years of painting mountain landscapes, I realized something powerful: the same artistic principles that create drama and serenity on canvas can shape breathtaking outdoor spaces.
In this article, I’ll show you how to approach mountain landscape art as both an art form and a landscaping philosophy. You’ll learn step-by-step methods to capture nature’s majesty on canvas — and translate that same visual poetry into your yard or garden.
Why Mountain Landscape Art Matters
- Mountains symbolize endurance, elevation, and awe — themes that enrich both art and outdoor design.
- In painting, mountain scenes teach balance, contrast, and spatial depth — key lessons for landscaping too.
- In landscaping, “mountain art” means embracing rugged textures, natural forms, and a sense of visual drama.
- As someone experienced in both painting and garden design, I can confirm: mountain aesthetics inspire spaces that feel timeless, peaceful, and deeply connected to nature.
How to Approach Mountain Landscape Art
(Step-by-Step Guide for Painting and Landscaping)
Step 1: Define Your Vision
Painting: Choose a mountain scene that moves you emotionally — something with clear forms and dramatic light.
Landscaping: Identify your property’s best view or focal point. Even if you don’t have mountains nearby, you can create a sense of elevation through design.
Checklist:
- Strong focal point (peak, ridge, or tall tree)
- Light direction defined
- Foreground/midground/background zones identified
- Sense of movement or depth in layout
Step 2: Plan Your Composition
In Art:
- Use the rule of thirds — keep your focal peak off-center.
- Build depth with overlapping forms and tonal contrast.
In Landscaping:
- Map out your garden with distinct layers.
- Create a “view corridor” that naturally leads the eye toward your focal feature — a tree, boulder, or ridge line.
| Painting Element | Outdoor Equivalent |
| Foreground shapes | Large rocks, bold shrubs |
| Mid-ground | Medium plants, pathways |
| Background | Trees, fences, or distant hills |
| Leading line | Path, dry creek, or garden bed direction |
| Light & shadow | Orientation and placement of features |
Step 3: Choose Your Palette and Materials
For Painting:
Work with a limited palette — cool blues and greys for distance, warm tones in the foreground for depth.
For Landscaping:
- Use stone, wood, and metal in natural finishes.
- Select a restrained color palette — greys, greens, and earth tones with small bursts of accent color.
- Favor native or alpine-style plants: pines, junipers, ornamental grasses, and low-maintenance perennials.
Pro Tip: Choose local materials whenever possible to create harmony between your design and the surrounding environment.
Step 4: Build the Structure
In Painting:
- Block out large shapes before adding detail. Focus on value (light and dark) first.
In Landscaping:
- Start with the major structures: boulders, retaining walls, or terraces.
- Add paths that curve toward focal points — much like compositional lines in a painting.
Checklist:
- Major rocks or structural features placed
- Pathways lead the eye
- Layered heights for visual depth
Step 5: Add Texture and Atmosphere
In Painting:
- Add details: rock textures, foliage, reflections, and clouds.
- Use atmospheric perspective — lighter tones and softer edges in the background.
In Landscaping:
- Combine varied materials (gravel, bark, stone, and grass) for tactile richness.
- Use vertical accents like conifers or sculptural trees.
- Introduce lighting that mimics mountain light — soft, angled, and warm.
Tip: A small water feature or pond can act as a reflective “sky” in your design, echoing mountain lake scenes.
Step 6: Maintain and Evolve
- Keep pruning natural, not formal.
- Refresh gravel and mulch to maintain texture.
- Adjust lighting seasonally for shifting sun angles.
- Embrace the changes of weather — your landscape, like art, evolves with time.
Maintenance Checklist:
- Seasonal color and texture balance
- Uncluttered view lines
- Low-maintenance native plants
- Clean edges and pathways
Quick Design Insights
- Cluster rocks in groups of three for natural composition.
- Vary height to create an illusion of topography.
- Use curved paths rather than straight ones for visual flow.
- Keep colors subdued in the distance, richer in the foreground.
- Add wind-tolerant evergreens for structure and permanence.
- Frame a view with tall trees or stone pillars for “mountain window” effect.
FAQ — Common Landscaping Concerns
Yes! Use raised beds, tiered planters, and vertical accents to simulate height. Layer textures and use visual perspective.
Light colors and soft background planting create depth. Keep larger rocks or features toward the front for scale illusion.
Not if you use native plants and natural materials. The goal is to mimic nature, not control it.
Focus on the essence of mountain art — rugged form, depth, and light contrast — rather than literal peaks.
Absolutely. Choose a mountain painting for your interior, then reflect its colors and materials in your garden for harmony.
Conclusion
Painting mountain landscapes taught me that nature’s beauty is not about perfection — it’s about balance, movement, and texture. When you apply that same philosophy outdoors, your yard transforms from a static space into a living artwork.
Whether you start by painting or planting, remember: every brushstroke and every boulder is part of the same vision — capturing nature’s majesty in your everyday life.