Creating a beautifully defined garden or lawn doesn’t always require expensive materials or fancy installations. Sometimes, the most timeless and charming option is also the simplest—wood landscape edging. As someone who admires natural aesthetics in outdoor spaces, I’ve seen how wood borders can completely transform a yard, adding structure, warmth, and character without losing that organic feel.
This guide dives deep into wood edging, uncovering techniques, styles, pros and cons, maintenance tips, and ideas the top-ranking competitors often miss—like long-term durability strategies and creative wood staining options.
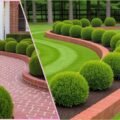
Why Wood Landscape Edging Is a Timeless Choice
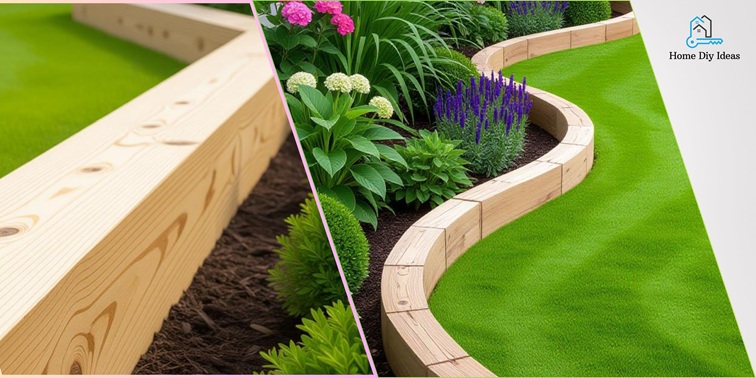
Wood brings a rustic beauty that blends effortlessly with garden plants, gravel paths, or lush lawns. Unlike metal or stone, wood has a warmth and softness that makes a garden feel inviting. Plus, it’s customizable—cut, stain, curve, or stack it to match your landscape vision.
Types of Wood Ideal for Landscape Edging
| Wood Type | Durability | Cost | Best For |
| Cedar | High | $$ | Natural rot resistance |
| Redwood | High | $$$ | Premium finishes |
| Pine (treated) | Moderate | $ | Budget-friendly DIY |
| Oak | High | $$ | Strong, rustic edging |
Pros and Cons of Wood Edging
| Pros | Cons |
| Natural, rustic appearance | Can rot if untreated |
| Easy to install & shape | Vulnerable to pests |
| Cost-effective | Requires maintenance |
| Eco-friendly materials | May shift over time |
How to Install Wood Landscape Edging (Step-by-Step)
Step 1: Plan & Measure
- Outline garden beds or lawn borders using rope or spray paint.
- Measure total edging length to calculate wood needs.
Step 2: Choose and Treat the Wood
- Opt for rot-resistant wood.
- Apply wood preservative or eco-safe sealant before installation.
Step 3: Dig a Trench
- Depth: 4–6 inches
- Use a spade to ensure even and level trenching.
Step 4: Install the Wood
- Place boards, logs, or stakes vertically.
- Use landscape spikes to secure.
Step 5: Backfill & Level
- Pack soil or gravel behind the edging.
- Check alignment for straight or curved lines.
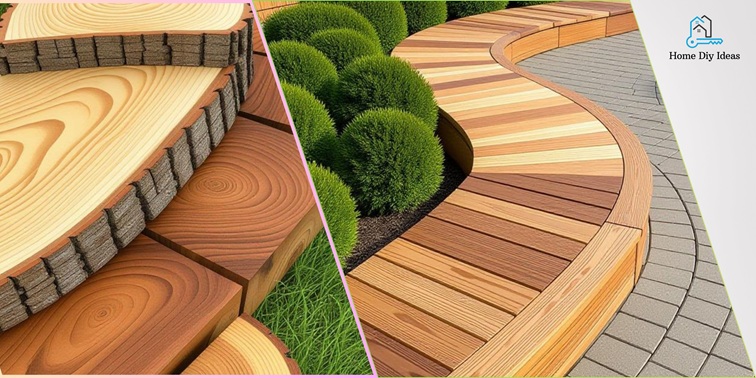
Creative Wood Edging Design Ideas
✨ Split Log Borders
Perfect for rustic or woodland gardens.
🪵 Vertical Timber Stakes
Great for curved flower beds and cottage-style yards.
📏 Horizontal Timber Sleepers
Modern, structured look—ideal near patios and walkways.
🎨 Stained or Burnt Wood Finish
Use dark stains or Shou Sugi Ban (charred wood) technique for uniqueness.
Maintenance Tips for Long-Lasting Wood Edging
| Task | Frequency |
| Reapply wood sealant | Every 1–2 years |
| Inspect for rot or shifting | Each season |
| Remove soil build-up | Annually |
| Treat pest damage | As needed |
Cost Comparison: DIY vs Professional Installation
| Option | Average Cost Per Linear Foot | Best For |
| DIY Wood Edging | $2 – $5 | Budget projects |
| Professional Install | $8 – $15 | Complex or curved designs |
Checklist Before Installing Wood Edging
✅ Have landscape fabric for weed control
✅ Choose correct wood type
✅ Pre-treat wood against rot
✅ Plan curves or straight lines
✅ Gather tools (saw, spade, mallet, spikes)
Frequently Asked Questions
Yes—especially untreated wood. Use cedar, redwood, or applied preservatives to extend life.
Opt for eco-safe, non-chemical sealants if edging food garden beds.
Yes—use flexible log rolls or short vertical stakes for curves.
With proper care, 7–10 years or more.
It helps prevent weeds and keeps borders clean.
Conclusion
Wood landscape edging is more than a border—it’s a way to express character in your outdoor space. Whether you’re aiming for a cozy cottage vibe or sleek garden symmetry, wood offers creativity, warmth, and charm that no synthetic material can match.